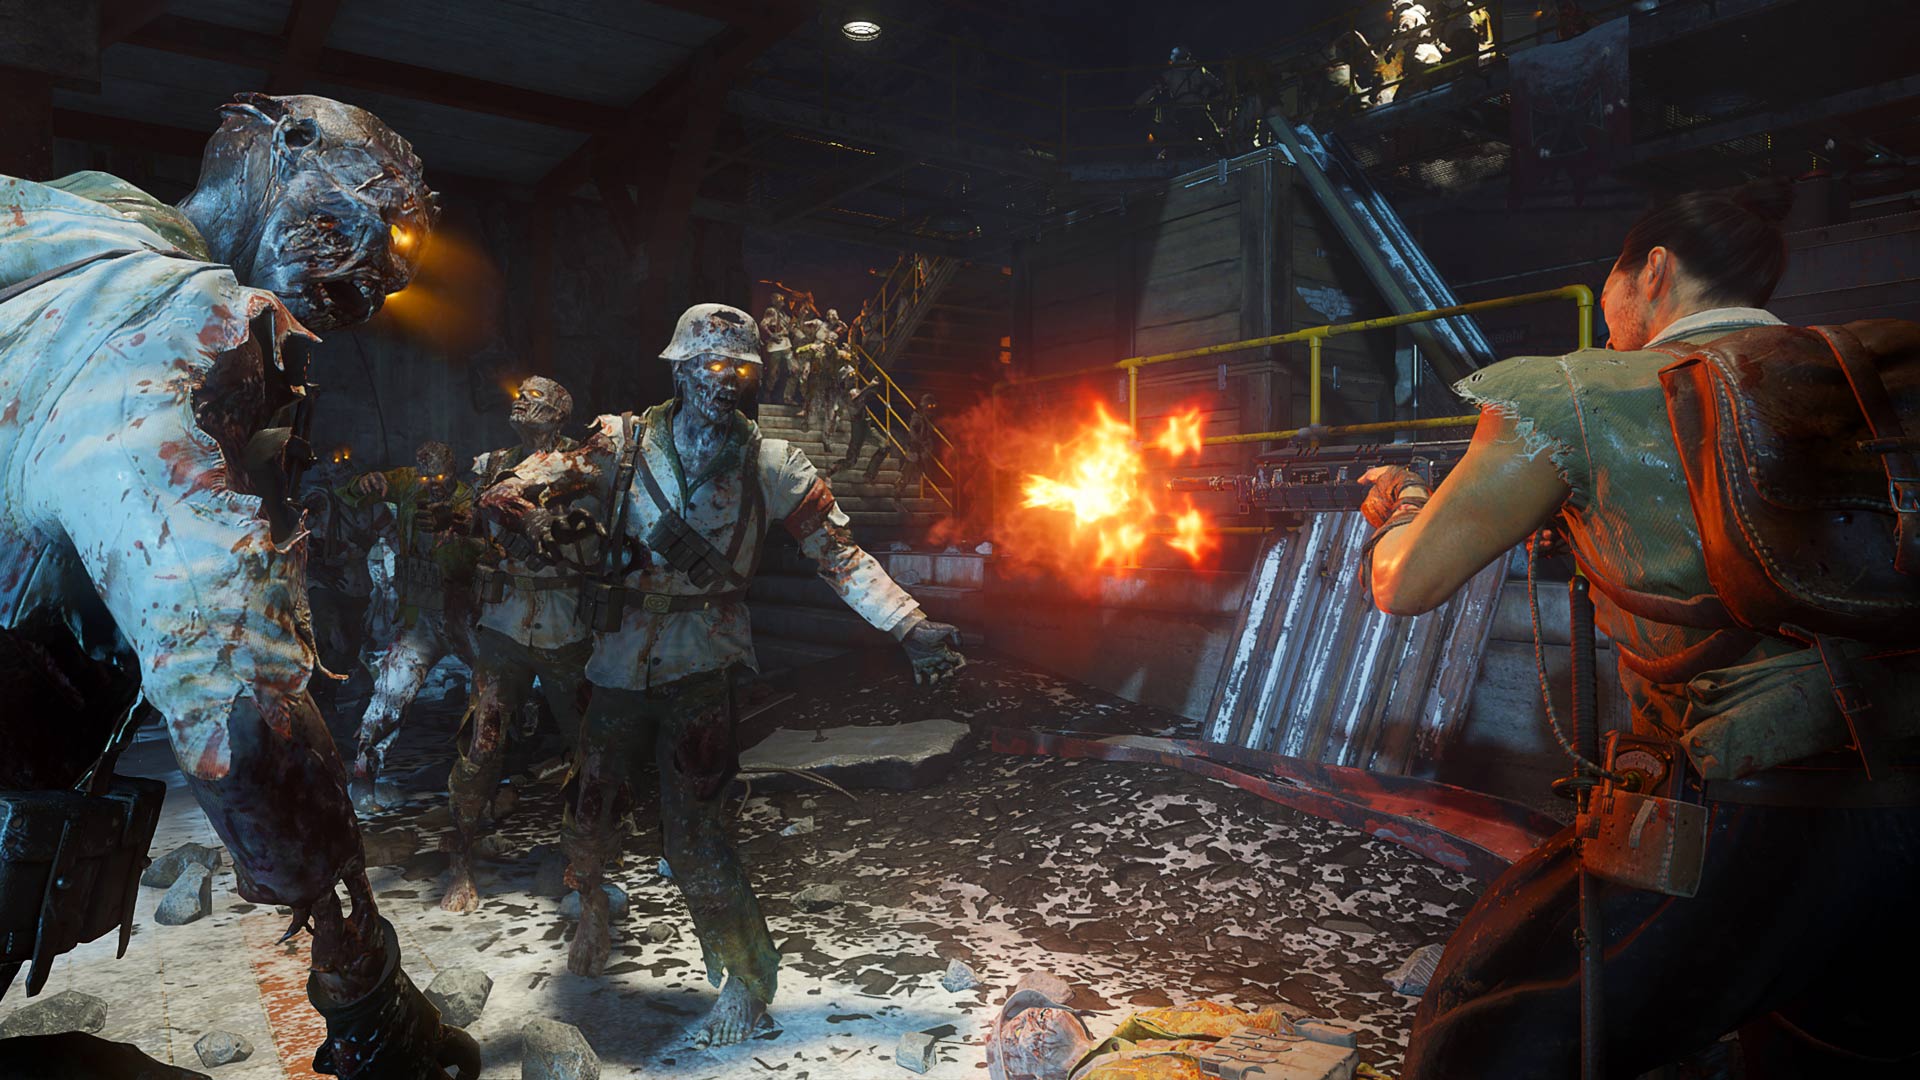
KNOWLEDGE IS YOUR WONDER WEAPON
Field Guides.
Browse curated map tutorials and original Atlas articles on preparation, crew play, and record keeping.
Terminus: Plan Power, Pack-a-Punch, And Crew Readiness
Understand the early power route and turn a sprawling map into manageable setup checkpoints for solo and co-op play.
On Terminus, a useful opening plan connects power, movement, and upgrades. The official map guide establishes the route facts below. Atlas’s contribution is a practical checkpoint and communication plan for learning that setup before committing to a longer quest attempt.
Make Power The First Shared Objective
The opening power sequence uses Aetherium Maturation Pods. The official route begins at the Guard Station and continues through the Living Quarters toward the Bio Lab. Activating the final pod supplies the remaining power; raising the submerged lift gives access to Pack-a-Punch.
Before the run, confirm that everyone is practicing the same objective. A teammate exploring optional areas while others expect a quick setup can unintentionally split the party’s attention and resources. A clear first goal is to establish power, identify the upgrade point, and learn a route between the areas you expect to revisit.
Choose One Approach And Learn Its Landmarks
The Seaside Path leads through the Sea Caves; the Sea Tower approach leads through the Mining Caves. The caves and connecting passages can constrain movement. The official guide also distinguishes weapon rarity upgrades from Pack-a-Punch when planning spending.
Pick one approach for your first few practice attempts. At each area, identify an exit and a recognisable landmark before moving on. This gives your crew a common vocabulary: “return toward the route we opened” is much more useful when everyone actually knows that route.
Turn The Power Route Into A Crew Checklist
Use the area names as checkpoints everyone can repeat back. A call such as “next pod” is ambiguous when players are separated; “Living Quarters power checkpoint” tells the crew where to regroup. The table is a preparation aid, not a replacement for the in-game objective markers.
Assign a caller and a readiness check, rather than permanent combat roles. The caller confirms the destination; each teammate reports whether they can defend or need a moment to rearm. A new player should know the exit and the next landmark before the party commits to another interaction.
| Checkpoint | Confirm Before Moving | Useful Crew Call |
|---|---|---|
| Guard Station | The first pod activation and defense are finished. | “First checkpoint complete; regroup before opening onward.” |
| Living Quarters | The second pod is complete and the crew knows the selected approach. | “We are taking one route toward the Bio Lab.” |
| Chosen cave approach | Everyone knows the entry, exit, and next destination. | “Move through together; do not stop in the passage to read a guide.” |
| Bio Lab | The final pod and lift are handled; each player checks their upgrade budget. | “Power is ready. Report supplies before the next objective.” |
Check Readiness Before The Next Commitment
Do not measure setup success only by whether one player has reached an upgrade machine. Ask whether the party can move safely, whether key purchases are affordable, and whether everyone understands the next objective. If the answer is no, say what is missing before pressing ahead.
- Agree on the power objective and the route caller.
- Complete the current power checkpoint before scattering.
- Open the chosen route toward the Bio Lab.
- Finish the power sequence and raise the lift.
- Review supplies and the next objective as a party.
Adjust The Plan For Solo Or Co-op
Solo practice benefits from fewer simultaneous goals. Learn the power route before adding an unfamiliar side objective to the same opening. Keep notes on the first decision that repeatedly causes trouble, then change that decision on the next attempt.
Co-op lets people share tasks, but only when responsibilities are explicit. Choose who calls the next interaction and who is checking the reference guide. Ask for a verbal ready check before a demanding sequence. If a teammate is unfamiliar with the route, explain the destination and the reason for moving rather than simply telling them to catch up.
Troubleshoot In The Order Problems Appeared
When a run fails late in setup, look backward. Did the party split without agreeing on a route? Did someone spend resources needed for the next access point? Did a player enter a confined space without knowing the exit? The first preventable decision often gives you a better fix than the final moment of failure.
Use Atlas notes to preserve that decision and one adjustment. Record a quest clear only if the main quest was actually completed; power and Pack-a-Punch are preparation milestones. Keep mode and party size accurate, and leave time unknown if nobody measured it. For puzzle details or the complete quest, move to the curated map-specific Field Guides rather than treating this setup plan as a full walkthrough.
Diagnose A Setup Failure Without Restarting Blindly
Consider this example: the group reaches the Bio Lab, but two players cannot afford their planned upgrades and a third is still in the cave. The fix starts before the lab. On the next attempt, set a regroup point before the passage and ask each player to name their next required purchase. Agree whether the goal is simply learning the route or arriving ready to continue a quest.
Keep a short attempt log: last stable checkpoint, first resource shortage, first separation, and one change. If the first separation consistently happens before the cave, improve that transition before experimenting with a completely new weapon build. If everyone arrives together but cannot sustain damage, investigate purchases and ammunition instead.
For a solo attempt, replace voice calls with a three-item mental check: destination, exit, next purchase. A run that teaches you the route is useful even without a quest clear. Preserve it as practice, and avoid treating a power milestone as proof that the main quest is complete.
Sources and Scope
Mechanics link to the references below. Checklists and recommendations are Atlas editorial advice. Check in-game prompts for changes after updates.